Growing a weed plant is an art and a science. Whether you’re a seasoned gardener or a beginner, understanding the basics of how to grow a weed plant successfully can make a significant difference in the quality of your harvest. Weed, also known as cannabis, has gained widespread attention for its medicinal and recreational use, making it more accessible for home cultivation. In this guide, we will walk you through everything you need to know about growing a weed plant, from selecting the right seeds to the final harvest. With proper care and attention, you can cultivate a thriving weed plant that produces high-quality buds.
Understanding the Basics of Weed Plant Growth
Before diving into the details of how to grow a weed plant, it’s essential to understand the plant’s basic growth cycle. Like most plants, weed grows in distinct stages, and each stage requires specific care to ensure healthy development. These stages include:
- Germination: The seed sprouts and the first roots emerge.
- Seedling Stage: The plant begins to develop its first true leaves.
- Vegetative Stage: The plant grows rapidly, developing stems, leaves, and branches.
- Flowering Stage: The plant begins producing buds, which will eventually be harvested.
- Harvesting: The buds are cut, dried, and cured for use.
By understanding these stages, you can provide the right care at the right time to ensure a healthy weed plant that produces a robust yield.
Choosing the Right Seeds
The foundation of growing a weed plant starts with selecting the right seeds. There are two main categories of cannabis seeds: Indica and Sativa, along with hybrid strains that combine both. Each type offers different effects and growth characteristics.
- Indica Strains: These plants tend to be shorter and bushier, with a quicker flowering period. They produce a calming, body-focused effect, making them great for evening use.
- Sativa Strains: Sativa plants grow taller and have a longer flowering period. They offer more energetic and uplifting effects, making them ideal for daytime use.
- Hybrids: A mix of both Indica and Sativa, hybrid strains offer a balanced effect and growth pattern.
When selecting seeds, consider the growing environment (indoor or outdoor) and the effects you desire from the weed. Purchasing seeds from reputable sources ensures high-quality genetics, which plays a critical role in the success of your grow.
How to Grow a Weed Plant Indoors
Indoor cultivation offers more control over the environment, allowing growers to fine-tune conditions like light, humidity, and temperature. Below is a step-by-step guide on how to grow a weed plant indoors.
1. Set Up Your Grow Space
Your grow space doesn’t need to be large, but it should be equipped to provide the necessary conditions for healthy growth. You can grow a weed plant in a tent, a closet, or even a dedicated room. Key elements of the grow space include:
- Lights: Weed plants need a lot of light, especially during the vegetative and flowering stages. LED grow lights are energy-efficient and provide the right spectrum for cannabis growth.
- Ventilation: Good airflow is essential to prevent mold and ensure healthy plant growth. Use fans to circulate air and maintain humidity levels.
- Reflective Surfaces: Use reflective materials like Mylar to make the most of your lighting setup and ensure even light distribution.
- Temperature and Humidity: Keep the temperature between 70-85°F (20-30°C) during the day and slightly cooler at night. Humidity should be around 40-60%, depending on the growth stage.
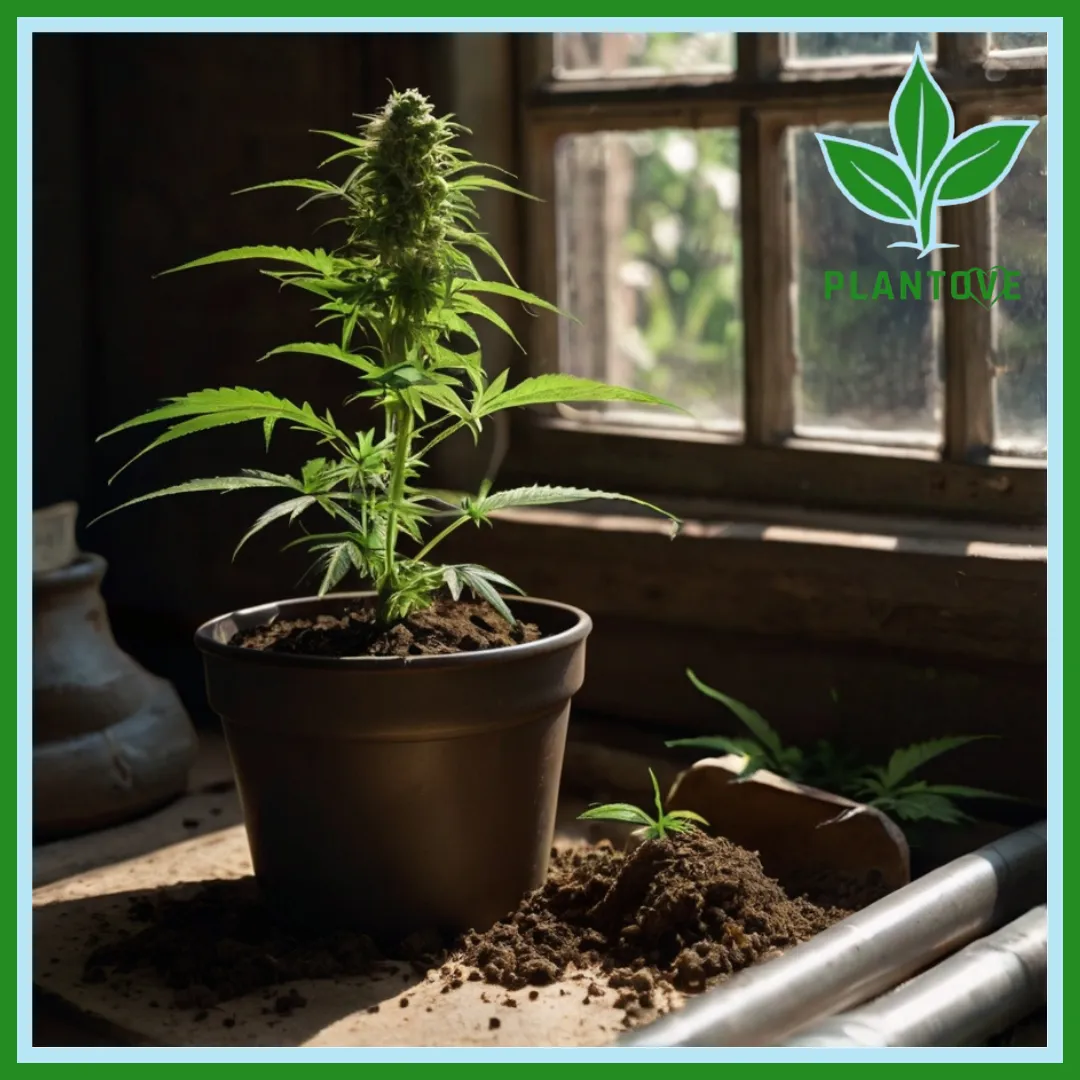
2. Choose the Right Soil and Containers
Selecting the right soil is vital for the health of your weed plant. Cannabis prefers well-draining soil with a slightly acidic pH level of 6.0-7.0. Organic soil mixtures that include compost, perlite, and peat moss are ideal. If you’re growing hydroponically, you’ll be using a nutrient solution instead of soil.
Containers should have good drainage and be large enough to accommodate root growth. Start with smaller pots for seedlings and transplant them into larger containers as the plant grows.
3. Germinate Your Seeds
Germination is the process of sprouting your cannabis seeds. There are several methods, but one of the easiest ways is the paper towel method:
- Place your seeds between two damp paper towels.
- Put the towels on a plate and cover with another plate to create a dark, moist environment.
- In 2-5 days, the seeds will crack open, and you’ll see a small taproot.
Once the seed has sprouted, plant it about ¼ inch deep into your prepared soil.
Weed Plant Care: Vegetative and Flowering Stages
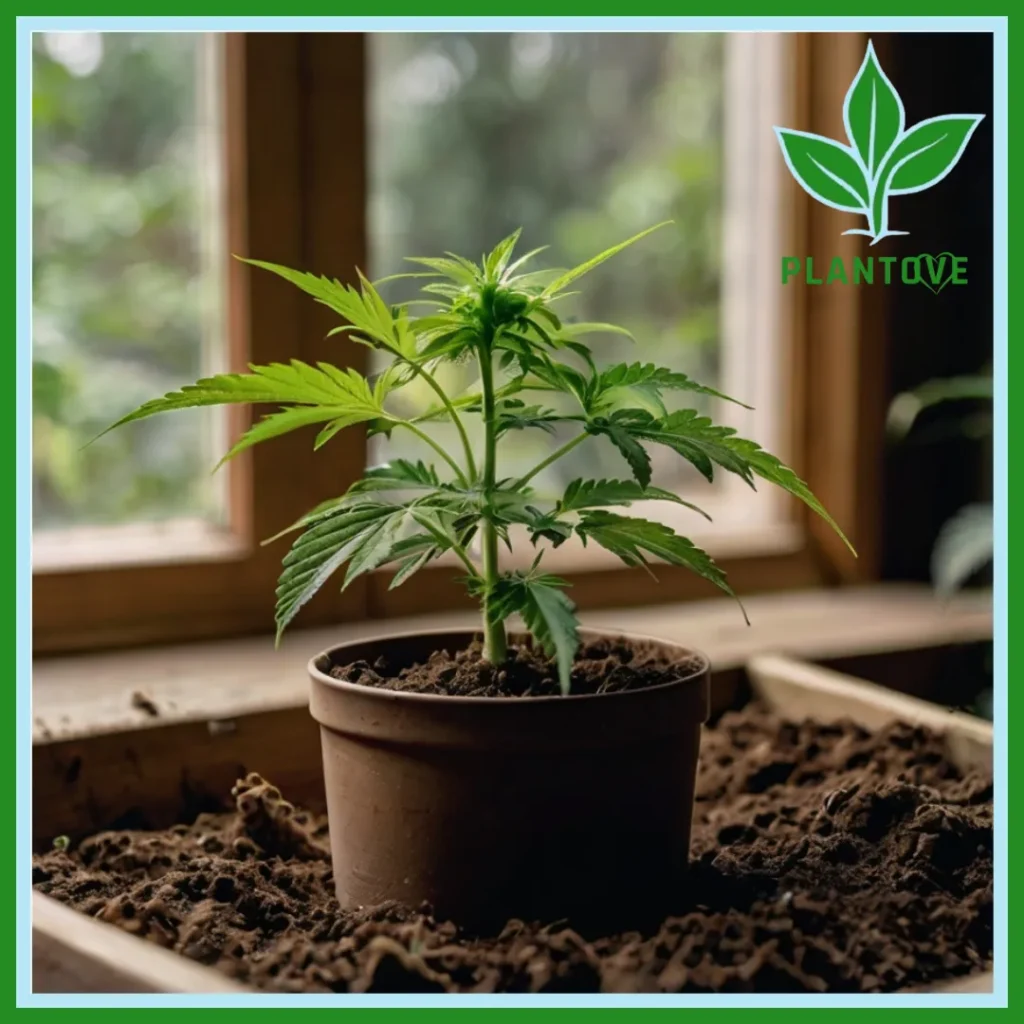
After germination, your weed plant will enter the seedling stage, and once it has a few sets of leaves, it will move into the vegetative stage. Understanding how to care for your weed plant during these stages is crucial to its success.
1. The Vegetative Stage
The vegetative stage is when your weed plant experiences the most rapid growth. During this phase, the plant will develop strong roots, stems, and leaves.
- Lighting: Your plant will need 18-24 hours of light per day to encourage growth. The more light, the better the plant will develop.
- Watering: Water your weed plant when the top inch of soil feels dry. Avoid overwatering, as cannabis roots need oxygen to thrive.
- Nutrients: During this stage, your plant will benefit from nutrients high in nitrogen to promote healthy leaf and stem development. Use a well-balanced cannabis nutrient mix and follow the feeding schedule recommended on the product.
2. Transitioning to the Flowering Stage
When your weed plant starts showing signs of pre-flowering, usually after a few weeks in the vegetative stage, it’s time to switch to a 12 hours of light and 12 hours of darkness schedule. This light cycle will trigger the flowering stage, where the plant focuses its energy on producing buds.
- Flowering Nutrients: During the flowering stage, switch to a nutrient solution with higher levels of phosphorus and potassium, as these elements help with bud development.
- Pruning and Training: Remove yellowing or dying leaves and any growth that blocks light from reaching the buds. You can also use techniques like low-stress training (LST) to increase bud production by allowing light to penetrate deeper into the plant.
How to Grow a Weed Plant Outdoors
Growing weed outdoors is an option if you have the space and live in a climate that supports cannabis growth. Outdoor weed plants can grow much larger than indoor plants, producing a more substantial yield.
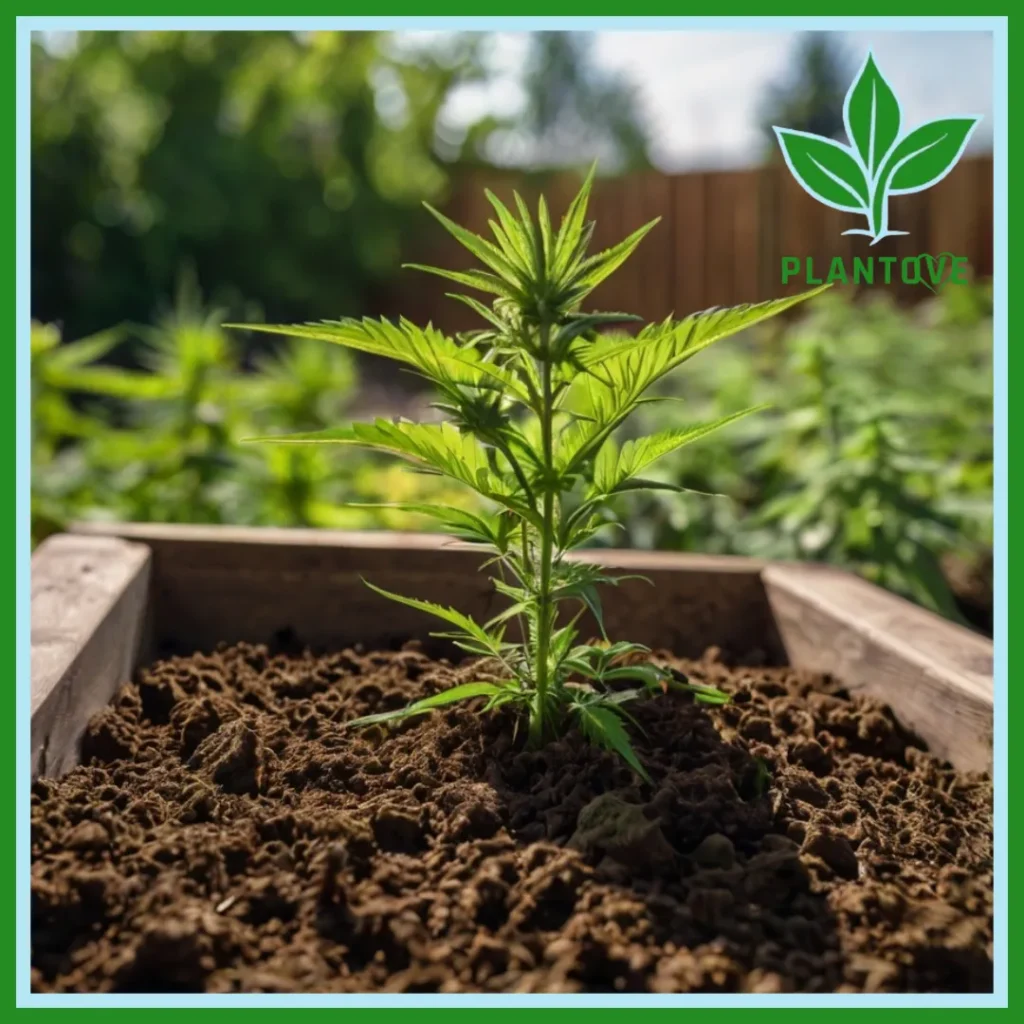
1. Selecting the Ideal Outdoor Location
Choose a location that receives plenty of sunlight throughout the day, ideally 8 hours or more. Make sure the area has well-draining soil and enough room for the plant to spread out. Privacy is also a factor, as weed plants can grow tall and bushy.
2. Preparing the Soil
Outdoor cannabis plants need rich, nutrient-dense soil to thrive. Mix organic compost into the soil to provide essential nutrients and improve drainage. You may also need to adjust the pH level of the soil to ensure it is within the optimal range for cannabis growth.
3. Watering and Nutrients
Outdoor plants typically require more water than indoor plants, especially in hot and dry climates. Water deeply but infrequently to encourage deep root growth. Fertilize your outdoor weed plant with nutrients formulated for cannabis, and follow a feeding schedule that aligns with the plant’s growth stage.
How to Harvest a Weed Plant
Knowing when and how to harvest your weed plant is crucial to achieving the best possible results. Here’s a step-by-step guide to ensure a successful harvest.
1. Recognize the Signs of Maturity
Your weed plant is ready for harvest when the buds are fully developed, and the pistils (the tiny hairs on the buds) start to change color, usually turning from white to orange or brown. You can also check the trichomes (the resin glands on the buds) using a magnifying glass. When most of the trichomes are cloudy or amber, your plant is ready to harvest.
2. Harvesting the Buds
Use sharp scissors or pruning shears to cut the buds from the plant. It’s essential to handle the buds carefully to avoid damaging the trichomes, which contain most of the plant’s cannabinoids and terpenes.
3. Drying and Curing
After harvesting, hang the buds upside down in a dark, well-ventilated space to dry. The drying process can take 7-10 days, depending on humidity levels. Once dry, the buds should feel crisp but not brittle.
To further enhance the flavor and potency, cure the buds by placing them in airtight jars. Open the jars daily for the first week to release excess moisture, then open them less frequently as the curing process continues. Curing can take several weeks, but the longer you cure, the better the final product.
Conclusion
Learning how to grow a weed plant is an enriching experience that allows you to produce your own cannabis supply. Whether you’re growing indoors or outdoors, following the right steps for germination, growth, flowering, and harvest will result in a healthy, high-yielding plant. By providing the right environment, nutrients, and care, you can enjoy a successful weed-growing journey from seed to harvest.